FITZPATRICK + INK
Skin Tone
& Pigment
Matching
Guide
01 — Skin Depth.
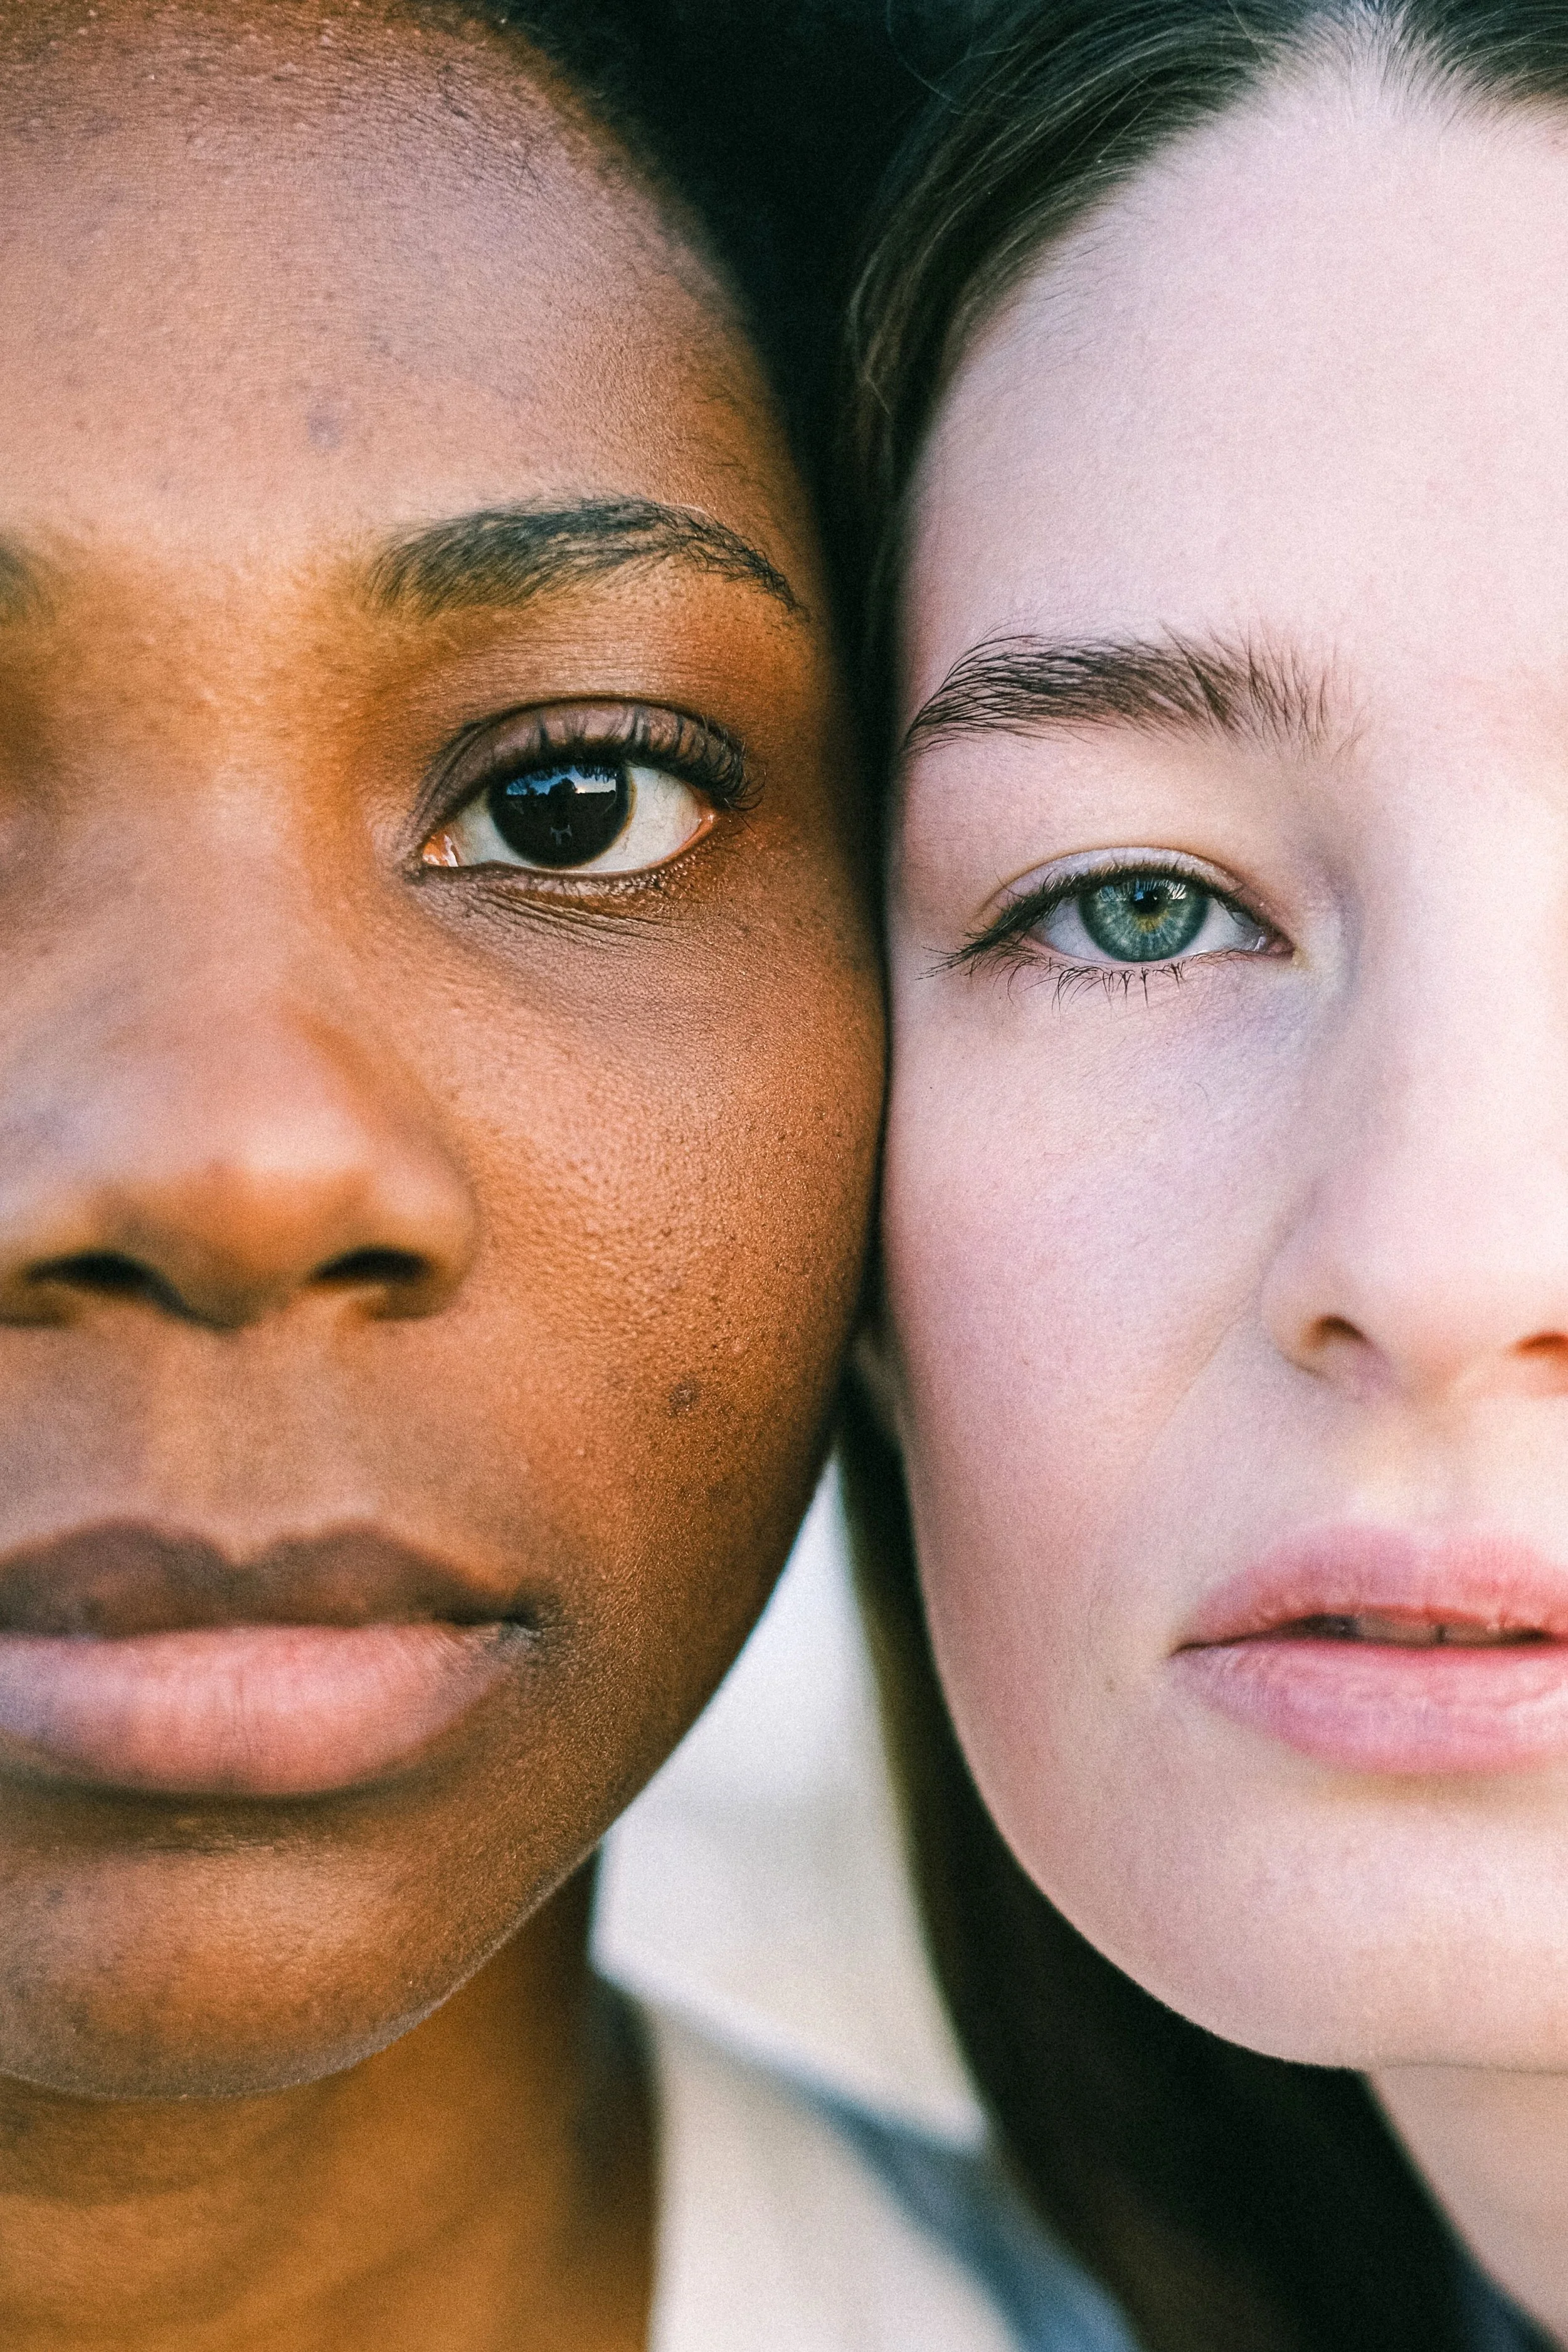
Skin depth describes the overall darkness or lightness of the skin's surface.
It is different from undertone. Two people can have a similar skin depth while having completely different undertones.
When considering pigment, skin depth can influence:
How visible a colour appears
How much contrast the pigment has against the skin
How the colour may be perceived once healed
Whether a pigment needs to be adjusted in value or temperature
Skin depth should always be assessed in natural or neutral lighting when possible. Artificial lighting can shift how warm, cool, light, or deep the skin appears.
Skin depth is best considered as a range rather than a fixed category, since natural skin colour can vary across different areas of the body. Lighting, tanning, seasonal changes, and surrounding colours can also affect how skin depth is perceived. When assessing a client, look at the actual treatment area rather than relying only on a general description of their overall complexion.
The treatment area is the most relevant reference point.
Assess the skin where the pigment will actually be placed, and use the client's overall complexion as supporting information rather than the sole basis for colour assessment.
Overtone
Redness or flushing → avoid adding excess warmth; choose balanced or slightly cooler tones
Tanned or darkened surface → do not match only the surface; assess the underlying tone before selecting colour
Hyperpigmentation → consider how darker areas may reduce contrast or shift perception of colour
Uneven surface colour → base decisions on the overall colour of the treatment area, not isolated patches
Colour theory provides a framework for understanding how colours relate to one another and how they change when viewed together.
When working with skin, colour should not be considered in isolation. The skin already contains its own combination of colours, so the same pigment can appear different depending on the skin it is placed into.
Primary Colours
The three traditional primary colours are:
Red
Yellow
Blue
These colours form the basis for creating many other colours.
Secondary Colours
Secondary colours are created by combining two primary colours:
Red + Yellow → Orange
Yellow + Blue → Green
Blue + Red → Violet
Warm & Cool Colours
Colours can also be described by their temperature.
Warm colours generally include reds, oranges, and yellows.
Cool colours generally include blues, violets, and some blue-based greens.
Some colours, particularly reds, browns, and neutrals, can have either a warm or cool bias depending on the colours used to create them.
Pigment visually mixes with the skin beneath it.
This means:
lighter skin may show pigment more clearly
deeper skin may soften or reduce contrast
undertone can shift the overall direction of the colour
The skin acts as a background that influences how colour is perceived, rather than a neutral surface.
Choosing Colour Direction
Instead of selecting a colour based only on how it looks in isolation, consider:
the skin’s depth and undertone
how the colour may shift during healing
the level of contrast desired
whether the result should be subtle or more defined
Small adjustments in colour direction can help create a more balanced and natural appearance.
Pigment + Skin + Healing = Final Colour
The fresh result is only one stage of the process.
Colour should always be selected with the expected healed result in mind.
When selecting pigment, use the skin as your starting point and adjust the colour accordingly.
Skin Depth
Light skin → use softer, less saturated tones; high contrast can appear too strong
Medium skin → use balanced tones; most colours can be adjusted effectively
Deep skin → use richer, more saturated pigments to maintain visibility and contrast
Undertone
Cool skin (pink/blue) → choose neutral or slightly warm pigments to avoid a grey or ashy result
Warm skin (yellow/golden) → choose neutral or slightly cool pigments to prevent excess warmth
Neutral skin → most colour directions can work; adjust based on desired result
Olive undertone → use balanced tones, avoiding extremes that may appear overly green, grey, or muddy
Lighting can significantly change how skin colour is perceived. The same skin can appear warmer, cooler, lighter, darker, or more saturated depending on the light source surrounding it.
When assessing colour, consistent and neutral lighting provides a more reliable reference than strongly warm or cool artificial light.
Warm lighting can make skin appear more yellow, golden, or orange.
Cool lighting can make skin appear more pink, blue, grey, or muted.
Low lighting can make it more difficult to accurately judge depth and subtle colour differences.
Natural daylight can provide useful context, but daylight itself varies depending on the time of day, weather, and surroundings.
Whenever possible:
Assess the skin under consistent lighting.
Avoid relying on coloured or decorative lighting.
Compare colours under the same lighting conditions.
Remove factors that may alter surface colour, such as heavy makeup.
Be cautious when using photographs as a colour reference, as cameras and screens can alter colour.
For colour assessment, consistency is more important than trying to find one "perfect" light source.
Visuals 1
CoolNeutralWarmOliveLightswatchswatchswatchswatchMediumswatchswatchswatchswatchDeepswatchswatchswatchswatch
Complementary colours sit opposite each other and can neutralize one another.
Examples:
red ↔ green
blue ↔ orange
yellow ↔ violet
This is important when considering how to balance or adjust colour direction.
Colour is influenced by what surrounds it.
Skin is not a neutral surface, so colour should always be considered in relation to the skin it is placed in.
Because skin already contains natural colour, it can subtly shift how a pigment is perceived.
A colour placed into the skin may appear different than it does in isolation or on a neutral surface.
Understanding complementary relationships can help guide adjustments when a colour appears too warm, cool, or unbalanced.
Small shifts in colour direction can make a noticeable difference in how natural or harmonious the final result appears.

Restorative Tattooing
Areola - Scars - Body Repair
By appointment only
www.neutralinklab.art
hello@neutralinklab.art
Understanding Skin & Pigment
Skin is not a blank canvas. Its natural tone, undertone, and depth all influence how pigment appears during application and after healing.
The Fitzpatrick scale provides a useful framework for classifying how skin responds to UV exposure. For tattoo and cosmetic work, it can be used as one reference point when considering skin characteristics and pigment selection.
What to Consider
01 — Skin Depth
The overall depth of the skin's natural colour.
02 — Undertone
The underlying cool, warm, or neutral qualities within the skin.
03 — Overtone
Pigment can appear different once the skin has healed, so the final result should always be considered—not just the fresh application.
**This guide is a reference tool, not a substitute for hands-on training, pigment manufacturer guidance, or individual client assessment.
Colour theory helps explain how colours interact with one another and how they are perceived against different backgrounds.
When working with skin, colour does not exist in isolation. The surrounding skin tone, undertone, and healing process all influence how a pigment will appear.
Warm vs Cool Colours
Colours can be broadly grouped into warm and cool categories.
Warm colours
Yellow, orange, red
Cool colours
Blue, violet, cooler reds
When placed into the skin, colour may appear warmer or cooler depending on the skin’s undertone.
A colour will not appear the same on every skin tone.
The same pigment can look:
brighter or muted
warmer or cooler
lighter or deeper
depending on the surrounding skin.
When pigment is placed into the skin, it does not sit on top of the surface. It becomes part of the skin, meaning the final colour is influenced by both the pigment and the skin it is placed into.
The result is not just the pigment itself, but a combination of:
skin depth
undertone
overtone
healing process
Why the Same Colour Looks Different
A pigment that appears consistent in the bottle may look different once applied to different individuals.
This can be influenced by:
variation in skin depth
differences in undertone
surface overtone at the time of application
how the skin heals
Because of this, the same pigment may appear:
warmer or cooler
lighter or deeper
more or less saturated
depending on the skin it is placed into.

Fitzpatrick Skin Type
The Fitzpatrick scale classifies how skin responds to UV exposure.
While it was not created specifically for tattooing, it can be used as a general reference when considering skin characteristics and how pigment may appear. It provides a structured way to group skin types based on observable traits and reactions. In practice, it should be used alongside direct visual assessment of the treatment area.
No scale can account for every variation, so individual evaluation remains essential.
Type I
Very fair skin
Always burns, never tans
often cooler undertones
lower natural pigment
Type II
Fair skin
Burns easily, minimal tanning
cool to neutral undertones
light pigment base
nuetral
Type III
Light to medium skin
May burn, gradually tans
more balanced undertones
moderate pigment depth
Type IV
Medium to olive skin
Rarely burns, tans easily
warm or olive undertones
increased pigment density
Type V
Deep brown skin
Very rarely burns
warm undertones
richer natural pigment
Type VI
Deepest brown skin
Never burns
strong warm undertones
highest pigment density